
The setup guide
Set up your business in seven short steps — details, locations, attendance rules, salary and statutory, admins, staff and the staff app.
Who can do this Owner or business admin
When you create a business, pagar karo opens the setup guide. It has seven short steps. Everything is pre-filled with sensible defaults, so you can press Save and continue on most steps and change details later. You can stop at any time and come back from Administration → Settings → Setup guide.
Until every step is done, the dashboard shows a Set up your business checklist with a Continue setup link.
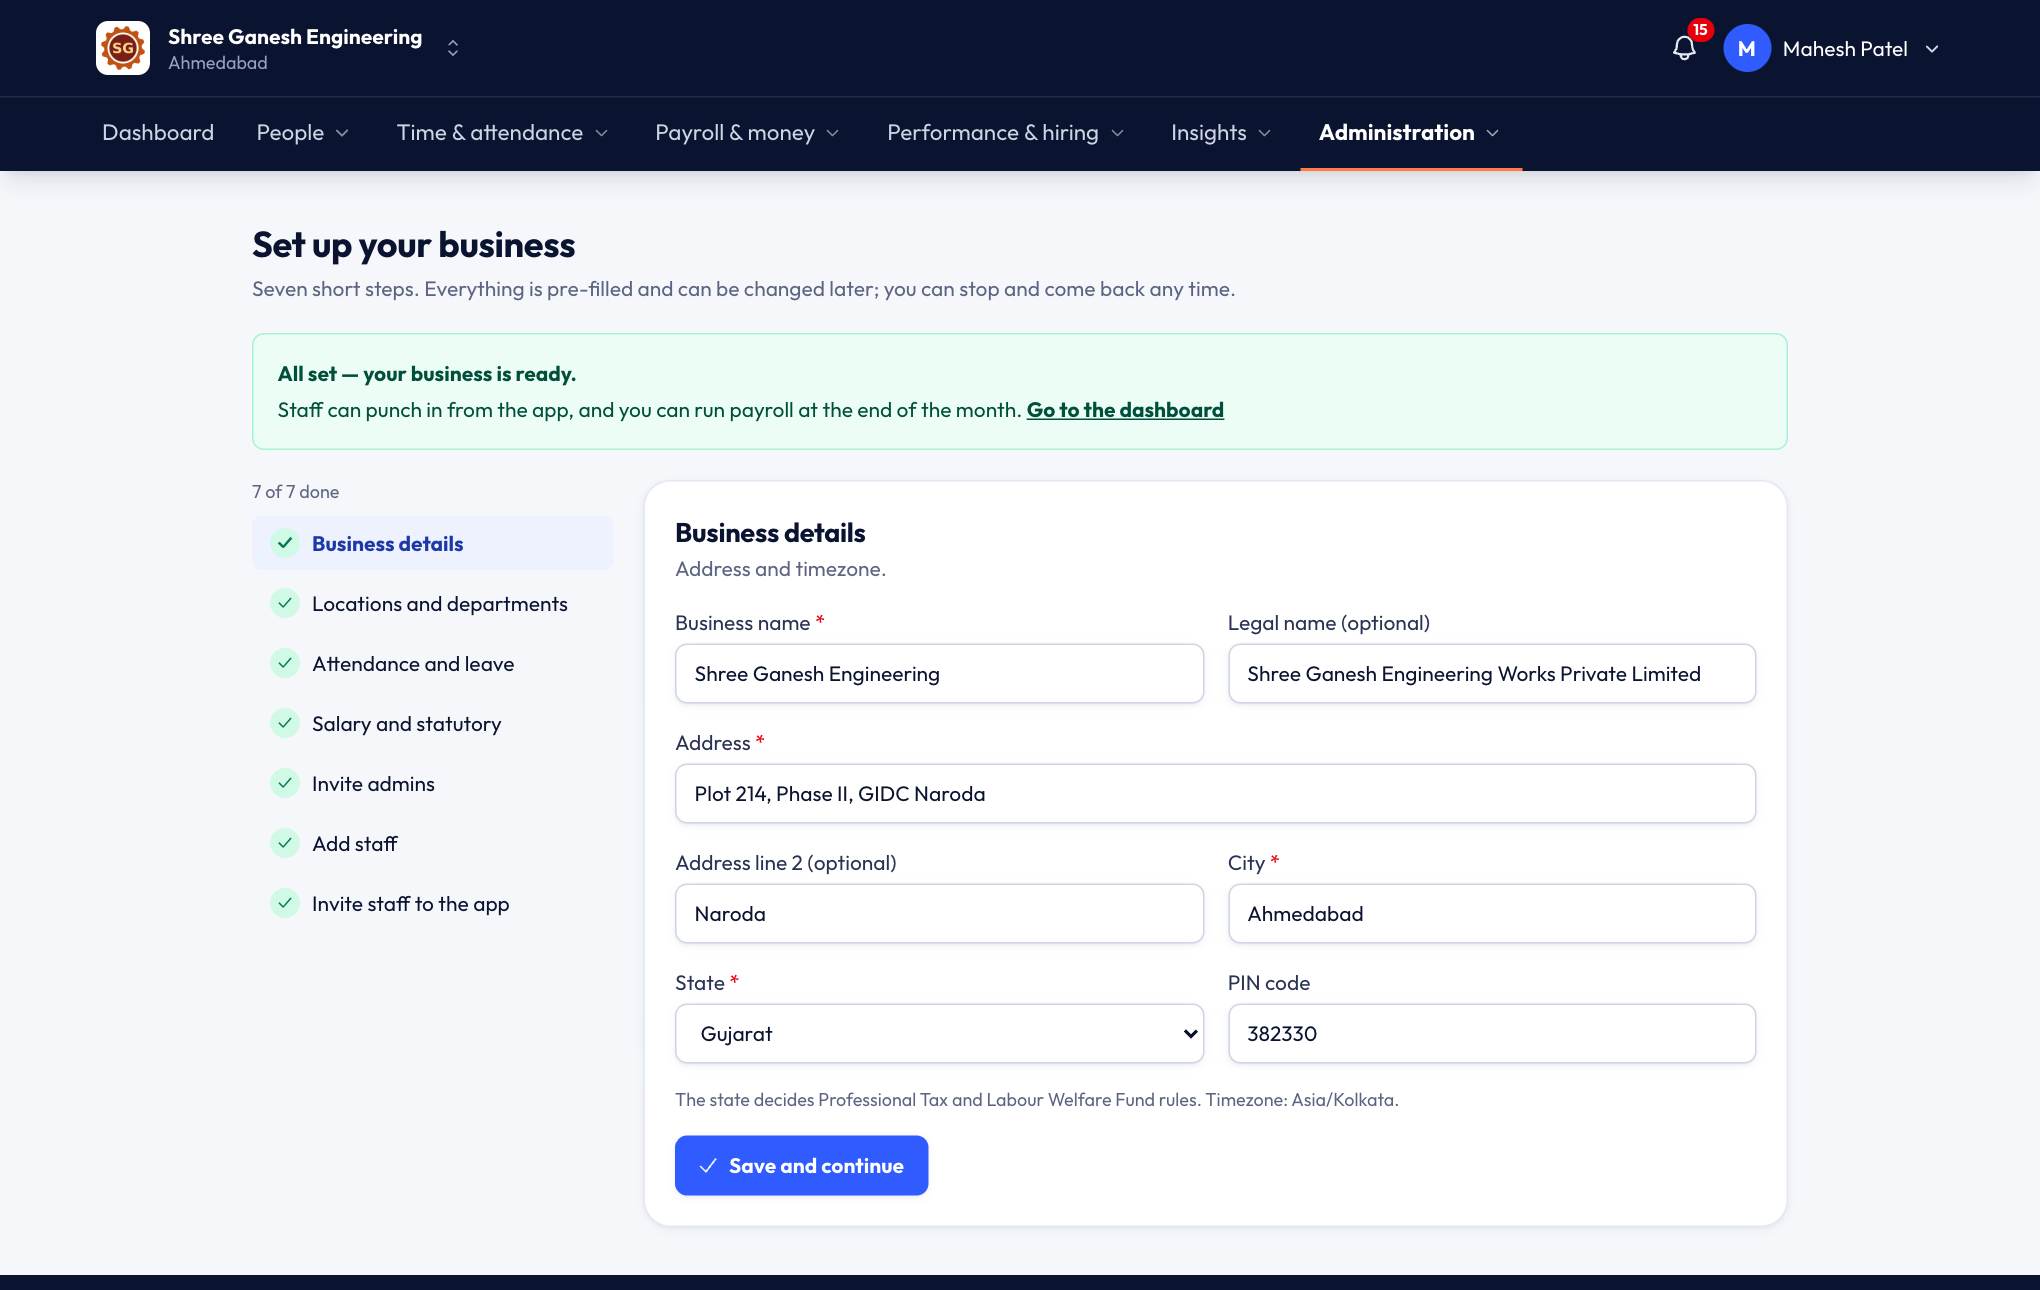
Business details
Your business name, legal name (optional) and address with city, state and PIN code.
The state matters: it decides which Professional Tax and Labour Welfare Fund rules apply.
Locations and departments
Add each place where people work — for example Naroda Plant and Chakan Unit. Then type your departments, separated by commas — for example Production, Packing, Stores, Sales, Accounts.
You can add a map pin and a punch radius to each location later, under Settings → Work locations. That's what lets the staff app check that people punch in at the site.
Attendance and leave
Choose how attendance is marked:
Option Best for Selfie and location from the phone Most teams — staff punch in and out in the staff app Location from the phone Teams that don't want selfies Present unless marked otherwise Office staff; you only mark absences and leave Admins mark it When a supervisor fills attendance for everyone Then set the shift start and end time and the weekly off (for example Sundays and 2nd / 4th Saturdays). This step also creates this year's holiday list and a standard leave policy, which you can edit.
Salary and statutory
Choose the day your salary month starts: 1 means the calendar month; 26 means the 26th to the 25th.
Tick Provident Fund (PF) applies and ESI applies if they apply to you, and add your establishment codes if you have them. pagar karo also creates a monthly salary structure (Basic 50% of CTC, the rest as special allowance) that you can change later.
Invite admins
Add people who help you run the business — an HR person, an accountant, a supervisor. Enter their name and mobile number, and choose:
- Business admin — can do everything except billing and managing owners.
- Restricted admin — can only do what their role allows, for example a branch admin who sees one location only.
Press Done / skip if it's just you for now.
Add staff
Upload a spreadsheet to add many people at once, or Add one by one. New staff get the policies and salary month from the earlier steps automatically. See Adding staff.
Invite staff to the app
Send everyone an SMS with a link to the staff app, or choose Later. Staff sign in with their mobile number.
When all seven steps are ticked, you'll see All set — your business is ready. The setup checklist disappears from the dashboard.
What to do next
- Check that everyone has a salary: People → Staff, then open a person and go to Salary.
- Add map pins to your work locations under Settings → Work locations.
- Look at your fine and overtime rules under Administration → Policies → Automation. See Attendance policies.